
Add a widget to WordPress
Copy your widget's code from Embeddable and paste it into a Custom HTML block on your WordPress site.
To show a widget on your WordPress site, copy its code from Embeddable and paste it into a Custom HTML block.
Before you start: On WordPress.com, your plan needs to allow custom code. Self-hosted WordPress sites can use the Custom HTML block on any setup.
These steps are for the WordPress block editor. If you build your pages with Elementor, see Add a widget to Elementor.
Get the code from Embeddable
- Open your widget in Embeddable and click Get the code at the top of the editor. You can also click Get the code next to the widget in your widget list.
- If the dialog says Publish first, publish your widget. The code only works on your site once the widget is published.
- Click Copy code.
For more about this dialog and its optional settings, see Embed a widget on your website.
Add the code to WordPress
-
In your WordPress admin, edit the page or post where you want the widget.
-
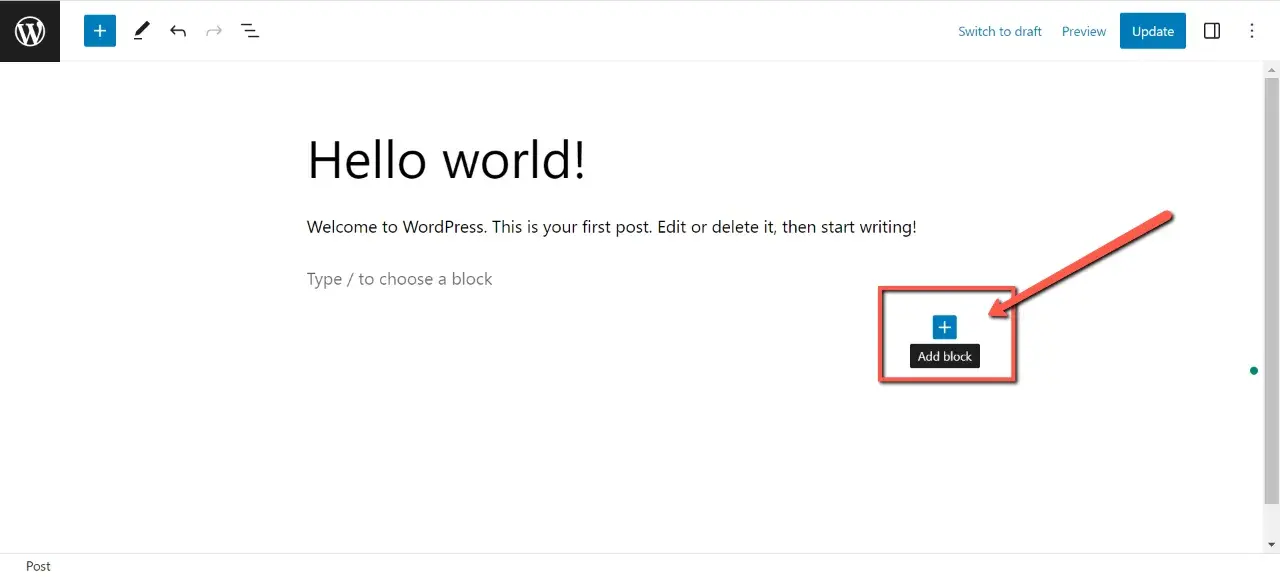
Click + (Add block) where you want the widget.
-
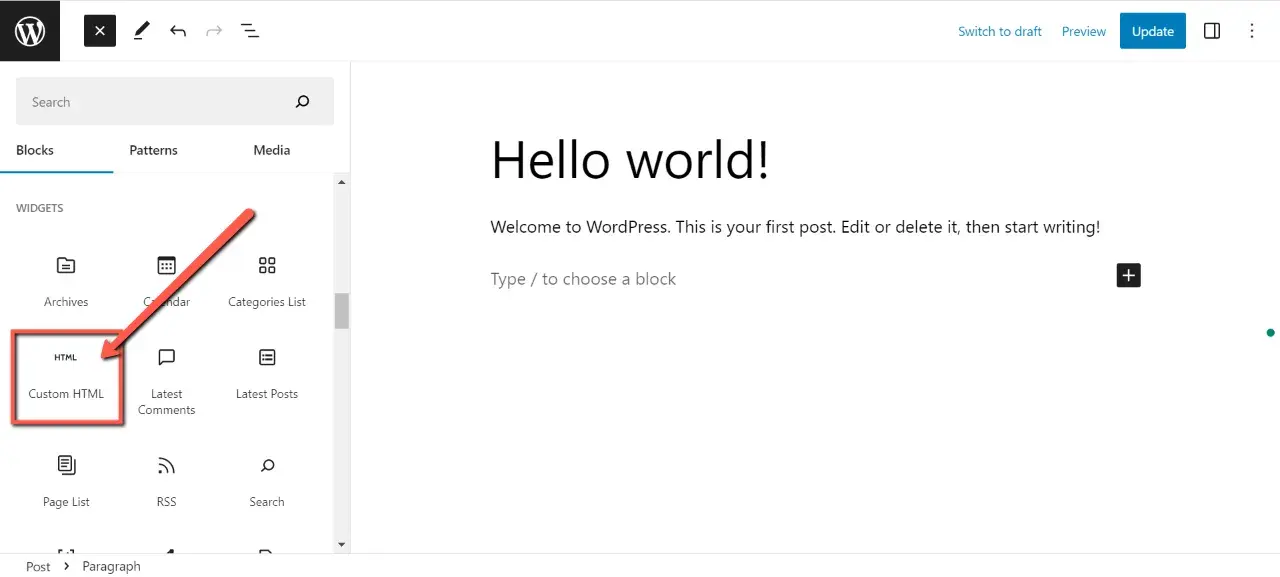
Search for Custom HTML and add that block. You can also click Browse all and find it in the list.
-
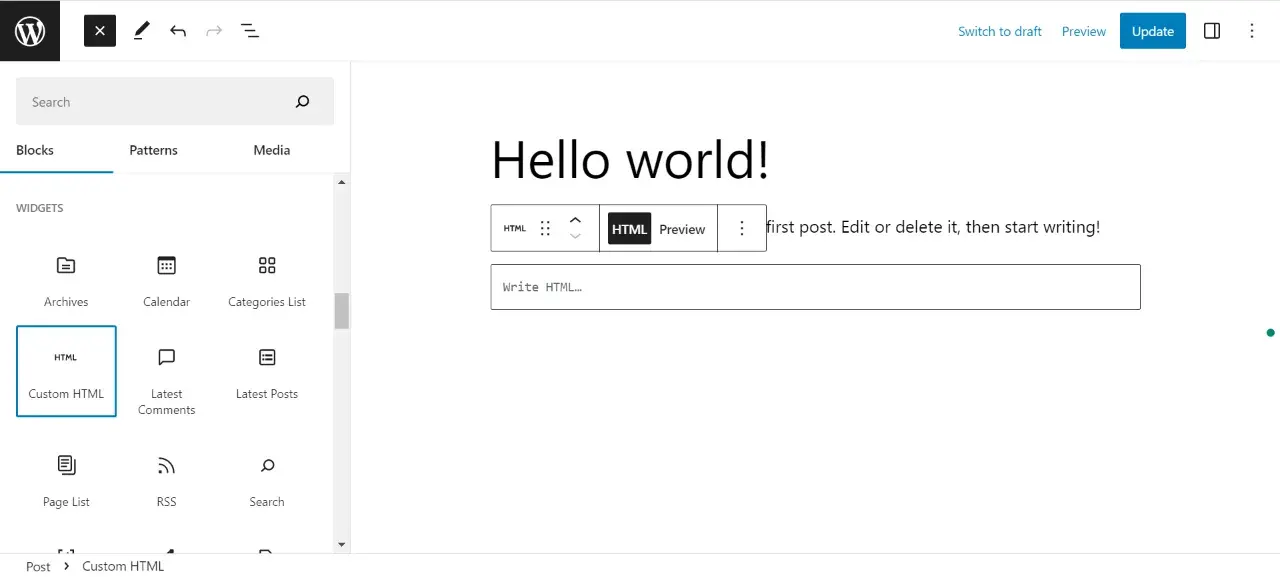
Paste the code into the block.
-
Click Update (or Publish for a new page).
Check it on your live site
To check it before saving, switch the block to Preview. After you update, open the live page to see the widget.
You only paste the code once. When you change the widget in Embeddable later and publish it, your site shows the new version without any change on WordPress's side.
If the widget still doesn't show, email us through the contact page with a link to the page.
Did this answer your question?
Your feedback helps us improve.